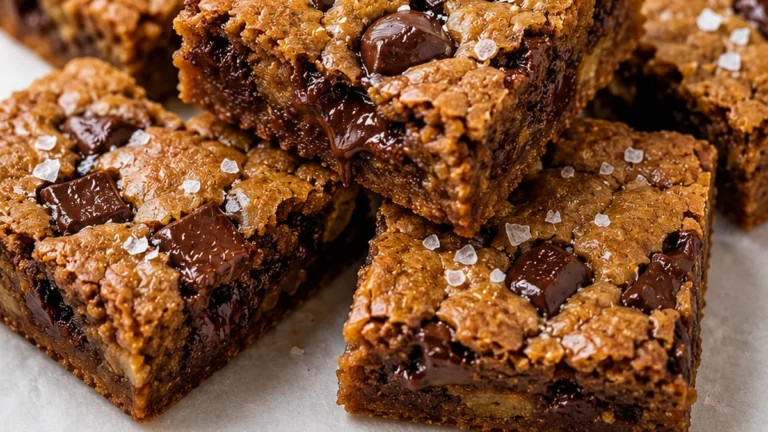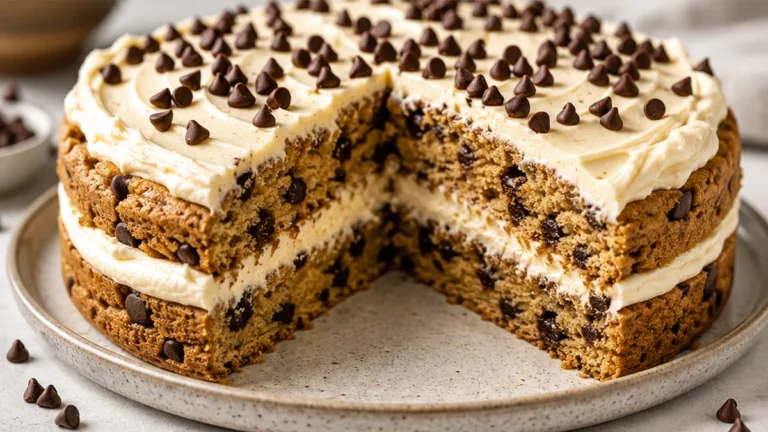

Kitchen Sink Cookies are the perfect solution for cookie lovers who want a little bit of everything. The blend of chocolate chips and crushed potato chips creates a unique flavor profile that is both sweet and savory.
Key takeaways
- Achieving the perfect balance of sweet and savory is key to kitchen sink cookies.
- The butter-to-flour ratio directly affects the cookie’s texture, impacting chewiness and crispiness.
- Chilling the dough can prevent excessive spreading during baking.
- Ingredient substitutions can alter flavor and texture, so choose wisely.
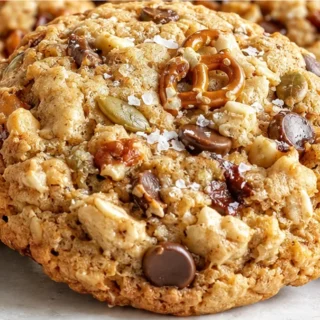
Ultimate Kitchen Sink Cookies: Sweet & Savory Delight!
Ingredients
- 1 cup unsalted butter, softened
- ¾ cup packed light brown sugar
- ½ cup granulated sugar
- 2 teaspoons vanilla extract
- 2 large eggs
- 2 ¼ cups all-purpose flour
- ½ teaspoon baking soda
- ½ teaspoon salt
- 1 ½ cups semisweet chocolate chips
- 1 cup crushed potato chips
Instructions
- Preheat the oven to 350F. Line large baking sheets with parchment paper.
- In a large mixing bowl or the bowl of a stand mixer fitted with the paddle attachment, beat the butter, sugars, and vanilla together on medium speed until light and fluffy, about 3 minutes.
- Beat in the eggs, one at a time, stopping to scrape down the bowl between eggs. Beat each until well incorporated before adding the next.
- To the mixing bowl, add the flour, baking soda, and salt. Beat on low speed just until combined. Add the chocolate chips, potato chips, pretzels, and toffee bits and stir in by hand until evenly distributed. Using a 2 tablespoons scoop, scoop the cookie dough and place on the lined baking sheets 2 inches apart. Sprinkle the top of each dough ball with flakey salt.
- Bake one sheet at a time for 12 minutes or until the edges turn golden. Let cool for a few minutes on the pan, then transfer to a wire rack and cool completely. Store cookies in an airtight container for up to 1 week.
Video
Notes
Understanding the Balance of Sweet and Savory in Kitchen Sink Cookies
The unique appeal of kitchen sink cookies lies in their ability to balance sweet and savory flavors. The combination of semisweet chocolate chips and crushed potato chips creates a delightful contrast. The chocolate chips provide rich sweetness, while the potato chips add a salty crunch. This balance is crucial; if either flavor dominates, the cookie’s overall appeal is compromised.
The Science of Cookie Texture: Chewy vs. Crispy
Texture is a key component of kitchen sink cookies. The ratio of butter to flour plays a significant role in achieving the desired chewiness. For this recipe, using 1 cup (227 grams) of butter against 2¼ cups (280 grams) of flour creates a rich, chewy texture. If you prefer a crispier cookie, consider reducing the butter slightly or increasing the flour. Additionally, baking at 350°F (175°C) for 10-12 minutes ensures a perfect bake, allowing the edges to crisp while keeping the center chewy.
Common Issues: Why Your Cookies Might Spread Too Much
If your cookies spread excessively during baking, it may be due to over-softened butter or not enough flour. Ensure your butter is softened but not melted; it should be creamy and maintain its shape when mixed with sugars. For this recipe, using the correct flour measurement (2¼ cups) is essential to provide structure. If you find your cookies are spreading, try chilling the dough for 30 minutes before baking to help maintain their shape.
Ingredient Swaps and Their Effects on Kitchen Sink Cookies
Substituting ingredients can yield different results in flavor and texture. For instance, replacing semisweet chocolate chips with dark chocolate chips will intensify the chocolate flavor, making the cookies less sweet. Alternatively, using crushed pretzels instead of potato chips will add a different type of crunch and saltiness, but may lack the buttery flavor that potato chips provide. It’s important to consider how each swap affects the overall balance of flavors.
What Makes Kitchen Sink Cookies Unique?
One standout feature of kitchen sink cookies is their versatility; they can incorporate a wide variety of mix-ins beyond the standard chocolate chips and nuts. This recipe’s inclusion of crushed potato chips is relatively uncommon in cookie recipes, offering a unique texture and flavor profile that sets them apart from traditional cookies. This adaptability allows for endless customization, making them a favorite for bakers looking to experiment.
Understanding the Impact of Ingredient Quality on Kitchen Sink Cookies
The quality of ingredients plays a crucial role in the final outcome of kitchen sink cookies. For instance, using high-quality chocolate chips will enhance the flavor profile significantly. Fresh ingredients, such as eggs and butter, should be at room temperature to ensure proper emulsification, leading to a better texture. Additionally, the type of potato chips you choose can affect the saltiness and crunchiness of the cookies. Opt for thicker-cut chips for a more substantial bite, while thinner chips will yield a more delicate crunch. Always check the expiration dates on your baking soda and flour, as stale ingredients can lead to poor rise and texture.
Adjusting for Different Oven Types and Sizes
Different ovens can impact baking time and temperature. Convection ovens circulate hot air, which may require reducing the baking temperature by 25°F (about 15°C) and shortening the baking time by a few minutes. If using a conventional oven, ensure that the cookies are baked on the center rack to promote even baking. Always keep an eye on the cookies as they approach the end of the suggested baking time, as oven variances can lead to overbaking or underbaking. Consider using an oven thermometer to ensure your oven is calibrated correctly, as inaccurate temperatures can significantly alter the texture of your cookies.
Scaling Up or Down: Adjusting Your Kitchen Sink Cookie Batch
Scaling your kitchen sink cookie recipe is straightforward but requires careful attention to ratios. When doubling or halving the recipe, maintain the same proportions of wet to dry ingredients. For instance, if you double the butter, you should also double the sugars, flour, and other ingredients. However, if you’re making a smaller batch, consider that the baking time might decrease slightly, so check for doneness earlier. Always mix in small increments to ensure the dough remains consistent. Keep in mind that larger batches may require longer mixing times to achieve uniform dough consistency, while smaller batches may not need as much blending.
Optimal Serving Suggestions for Kitchen Sink Cookies
Kitchen sink cookies are versatile and can be served in various ways. For a casual gathering, consider serving them warm with a scoop of vanilla ice cream for a delightful dessert. Pairing these cookies with a glass of cold milk enhances the sweet and salty flavors. For a more sophisticated presentation, serve them alongside a selection of artisanal cheeses, as the savory notes from the potato chips can complement the creaminess of the cheeses. Additionally, consider drizzling melted chocolate or caramel over the cookies just before serving for an extra touch of indulgence. These cookies can also be packaged beautifully as gifts, making them a perfect treat for any occasion.
How to Prepare Dough in Advance for Kitchen Sink Cookies
Making the dough ahead of time can enhance the flavors and make your baking process smoother. To prepare the dough in advance, mix all the ingredients up to the point of adding the chocolate chips and crushed potato chips. Wrap the dough tightly in plastic wrap and refrigerate for up to 72 hours. This resting period allows the flour to fully hydrate and the flavors to meld. When ready to bake, simply fold in the add-ins, scoop, and bake. If you freeze the dough, it can last for up to three months. Just remember to thaw it in the refrigerator overnight before baking.
Understanding the Role of Equipment in Baking Kitchen Sink Cookies
The choice of baking equipment can significantly impact the outcome of your kitchen sink cookies. Using a heavy-duty baking sheet promotes even heat distribution, leading to consistent browning. If you use a lightweight sheet, the cookies may bake unevenly. Additionally, parchment paper can prevent sticking and help achieve a crisp bottom, while silicone mats can retain moisture, leading to softer cookies. Be mindful of your oven’s calibration; an oven thermometer can help ensure accurate baking temperatures, which is crucial for achieving the desired texture.
How Ingredient Quality Affects the Flavor of Kitchen Sink Cookies
Ingredient quality plays a pivotal role in the final flavor profile of your kitchen sink cookies. Using high-quality butter enhances the richness, while fresh chocolate chips provide better melt and flavor. Opt for artisanal or gourmet potato chips for a unique savory twist. Additionally, consider the freshness of your flour; stale flour can lead to a lackluster taste and texture. Seasonal ingredients, like specialty nuts or dried fruits, can elevate your cookies, making them unique to the time of year. These small changes can have a significant impact on the overall enjoyment of your cookies.
How to Store Kitchen Sink Cookies for Maximum Freshness
To maintain the optimal texture and flavor of your kitchen sink cookies, proper storage is essential. Allow the cookies to cool completely on a wire rack before transferring them to an airtight container. This prevents moisture buildup that can lead to a soggy texture. For short-term storage, kitchen sink cookies can be kept at room temperature for up to one week. For longer storage, consider freezing them. Place the cookies in a single layer on a baking sheet, freeze until solid, then transfer to a freezer-safe bag or container. They can last up to three months in the freezer. When ready to enjoy, simply thaw at room temperature or pop them in the microwave for a few seconds to regain their soft texture.
Why Ingredient Temperature Matters in Kitchen Sink Cookies
The temperature of your ingredients significantly impacts the final texture of kitchen sink cookies. Using cold butter can lead to a denser, less spreadable dough, resulting in thicker cookies. Conversely, room temperature butter allows for better emulsion with sugars, leading to a lighter, airier texture. Aim for butter that is around 65°F (18°C) for optimal creaming. Eggs should also be at room temperature; this helps them incorporate more easily into the dough. If you forget to take your eggs out in advance, you can place them in a bowl of warm water for about 10 minutes to bring them to the right temperature quickly.
Pro tips
- Make sure the butter is softened for easy mixing.
- Experiment with different mix-ins like nuts or candy.
- Allow cookies to cool slightly on the pan for better texture.
Try these Kitchen Sink Cookies and enjoy the delightful mix of flavors. Feel free to share your own variations and enjoy baking!
Frequently asked questions
Can I use salted butter instead of unsalted butter?
Yes, you can use salted butter, but be mindful of the added salt in the recipe. You may want to reduce or omit the ½ teaspoon of salt to avoid overly salty cookies.
How do I store leftover kitchen sink cookies?
Store leftover cookies in an airtight container at room temperature for up to one week. For longer storage, consider freezing them in a single layer, then transferring to a freezer-safe bag for up to three months.
Can I add nuts to the kitchen sink cookies?
Absolutely! Adding nuts like walnuts or pecans can enhance the flavor and texture. Just be sure to adjust the proportions of other mix-ins to maintain balance.
What can I do if my cookie dough is too dry?
If your cookie dough is too dry, it may be due to too much flour. You can add a tablespoon of milk or water to the dough to help moisten it, ensuring a better consistency for baking.
More from Chocolate Chip Cookies →