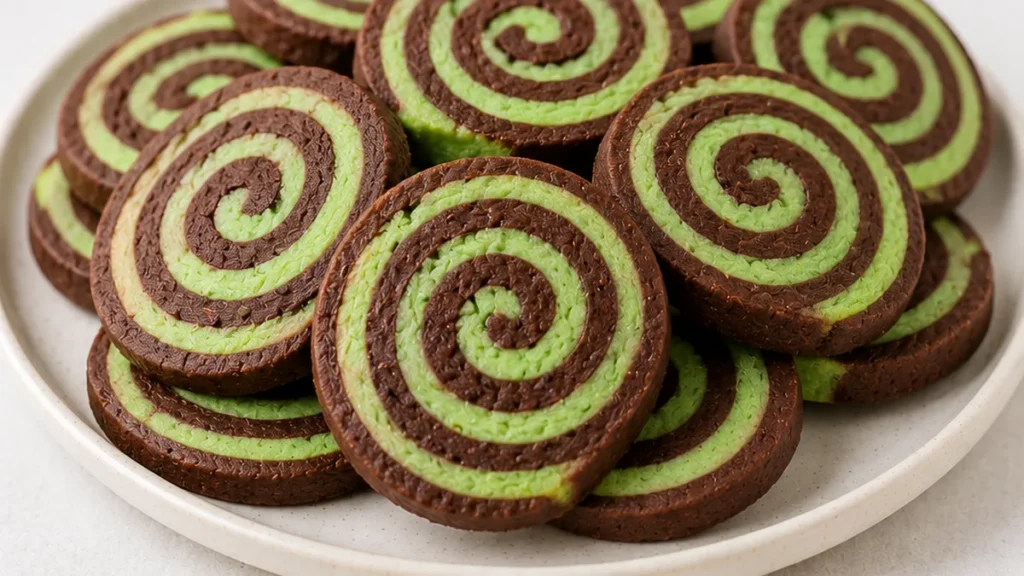
These mint chocolate cookies are the ultimate treat, combining rich cocoa with refreshing peppermint in a visually stunning pinwheel design. This recipe, inspired by a classic, offers a delightful contrast in both flavor and appearance, making it a perfect addition to any dessert table or a thoughtful homemade gift. Crafting these mint chocolate cookies is a rewarding experience, from mixing the vibrant green and deep chocolate doughs to revealing the beautiful swirl when sliced. I’ve found that the key to perfect pinwheels lies in the chilling times, ensuring the dough is firm enough to roll without cracking. It’s a fun project that yields incredibly satisfying results.
Key takeaways
- The key to perfect pinwheels is proper dough chilling and even rolling.
- Avoid overmixing the dough to ensure a tender cookie texture.
- Slice the chilled dough log decisively for clean, defined swirls.
- Bake until the edges are set and lightly golden for optimal crispness.
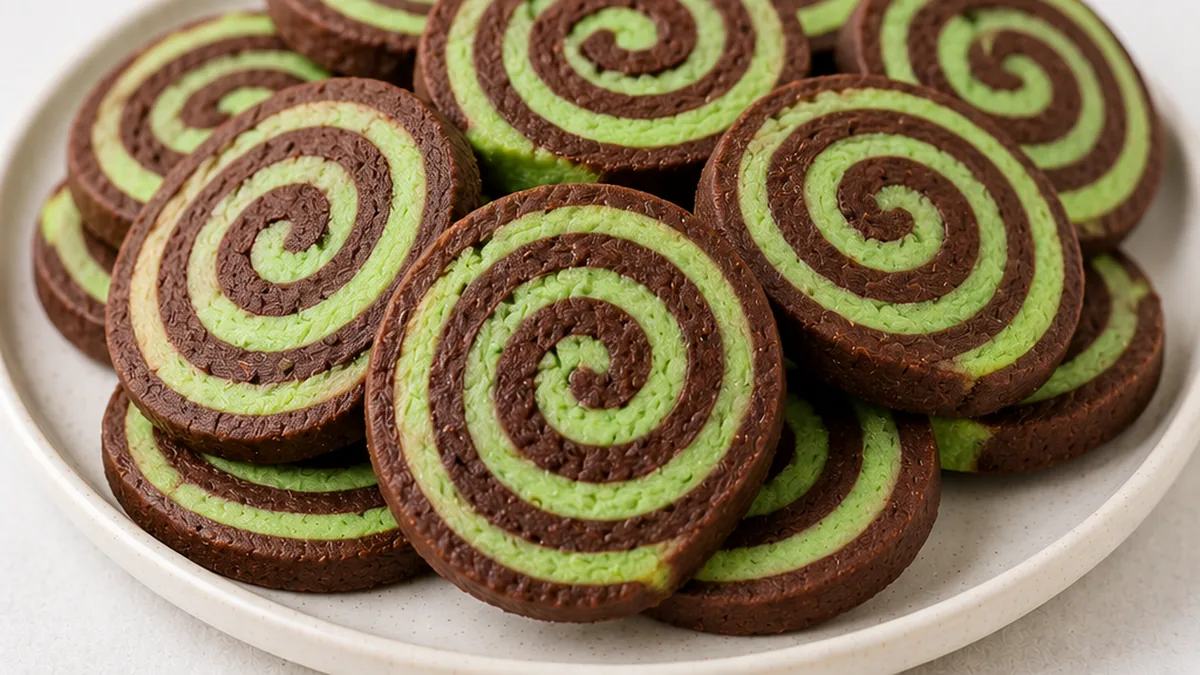
Mint Chocolate Pinwheels: Swirls of Joy!
Ingredients
Method
- In a medium bowl, whisk together the flour, baking powder, and salt until well combined.
- In a large bowl, use an electric mixer to beat the butter and sugar on medium-high speed until well-combined and smooth, about 2 minutes. Scrape down the sides and bottom of the bowl. Add the egg, peppermint extract, and vanilla extract and beat until combined, then scrape down the bowl again. On low speed, gradually add the flour mixture and mix until just incorporated.
- Divide the dough in half (it’s ok if it’s not exact) and place one half in a small bowl. Starting with ¼ teaspoon, add green food coloring and mix with a spatula until evenly colored. Add more coloring if desired.
- Into the remaining plain dough, add cocoa powder and beat on low speed until just combined. Place each half of dough on a sheet of plastic wrap. Wrap and shape into a small rectangle. Refrigerate until firm but still pliable, about 1 hour.
- Place a sheet of parchment paper on top of a silicone-lined baking mat. Place one half of the dough on top. Cover with plastic wrap. Roll dough into an 8×14-inch large rectangle about 1/4-inch thick. Repeat with remaining dough. Place both doughs, still covered in plastic, in the fridge or freezer until firm but pliable, about 10 minutes.
- Once chilled, remove the plastic wrap from the green dough. Place dough down on a fresh sheet of parchment. Carefully peel away the parchment attached to the dough. Repeat the procedure to place the chocolate dough on top of the green dough, lining up as closely as possible. Press the dough together to ensure there are no gaps between layers. Trim the dough layers to create an even rectangle if needed.
- Using the parchment paper under the green dough as a guide, slowly roll the long side of the dough into a tight log, making sure there are no gaps. Wrap log in parchment or plastic wrap and freeze for 1 hour or until firm.
- Line large baking sheets with parchment paper.
Notes
– To achieve clean, distinct swirls, ensure both doughs are equally firm when rolling. If one is softer, it will squish unevenly. If the log cracks during rolling, gently warm it slightly with your hands to make it more pliable.
– These cookies can be stored in an airtight container at room temperature for up to 5 days, or frozen for up to 3 months. To freeze, slice the log, arrange cookies on a baking sheet, freeze until solid, then transfer to a freezer bag. Nutrition information is an estimate, calculated automatically. Values vary with brands, substitutions and portion sizes.
The Technique That Makes It: Achieving the Perfect Swirl
The magic of mint chocolate pinwheel cookies lies in the precise layering and chilling of two distinct doughs. The key to achieving those beautiful, defined swirls is the careful preparation and handling of both the plain mint dough and the chocolate dough. First, it’s crucial that your butter is at a cool room temperature, not soft or melted. This allows it to cream properly with the sugar, incorporating air for a tender cookie without making the dough too greasy. Over-creaming can lead to tough cookies, while under-creaming results in a dense texture. When combining the wet and dry ingredients, mix only until just combined. Overmixing develops the gluten in the flour, leading to tough, chewy cookies instead of the desired crisp-tender texture. For the pinwheel effect, it’s essential to roll both doughs to an even thickness. This ensures that when you roll them up together, there are no thick spots or gaps, leading to a uniform swirl. Chilling the rolled log before slicing is non-negotiable. This firms up the dough, making it easier to slice cleanly without distorting the swirl pattern. A warm dough will smudge and lose its definition. Finally, the baking temperature and time are critical. Baking at the correct temperature ensures the cookies spread just enough and bake through without burning the edges or leaving the center doughy. Watch for the edges to be set and lightly golden.
- Problem: Swirls are blurred or indistinct. Fix: Ensure both doughs were chilled sufficiently before rolling and slicing. Over-handling or rolling a dough that is too warm will cause the colors and patterns to blur. Slice the chilled log with a sharp knife in one decisive motion.
- Problem: Cookies spread too much and lost their shape. Fix: The butter may have been too soft, or the dough was overmixed. Ensure butter is cool room temperature and avoid overmixing after adding flour. Chilling the rolled log thoroughly before baking also helps prevent excessive spreading.
- Problem: Cookies are tough or hard. Fix: This is usually due to overmixing the dough after the flour is added, which develops gluten. Mix only until the ingredients are just combined. Using cake flour instead of all-purpose flour can also contribute to toughness if not handled correctly.
- Problem: Green color is uneven or streaky. Fix: Ensure the gel food coloring is evenly distributed in the mint dough. Gel coloring provides a more concentrated pigment than liquid. Mix until the color is uniform throughout the dough before proceeding.
- All-purpose flour: You can substitute with a good quality 1:1 gluten-free baking blend. The texture might be slightly different, potentially a bit more crumbly, but the flavor will remain largely unaffected.
- Granulated sugar: Caster sugar can be used as a direct substitute for a slightly finer texture. Brown sugar is not recommended as it will alter the color and flavor profile significantly.
- Peppermint extract: For a different mint flavor, spearmint extract can be used, though it is generally milder. You could also use a small amount of almond extract for a nutty flavor, but omit the green food coloring.
- Green gel food coloring: This can be omitted entirely if you prefer a natural look. The cookies will still have the delicious mint chocolate flavor without the visual green swirl.
Pro tips
- For the most vibrant green, I once underestimated the amount of food coloring needed, resulting in a pale green. Don’t be shy; add coloring incrementally until you reach your desired hue, especially with gel colors.
- To achieve clean, distinct swirls, ensure both doughs are equally firm when rolling. If one is softer, it will squish unevenly. If the log cracks during rolling, gently warm it slightly with your hands to make it more pliable.
- These cookies can be stored in an airtight container at room temperature for up to 5 days, or frozen for up to 3 months. To freeze, slice the log, arrange cookies on a baking sheet, freeze until solid, then transfer to a freezer bag.
This recipe for Mint Chocolate Pinwheel Cookies is a delightful way to impress with minimal fuss. Enjoy the beautiful swirls and refreshing taste, and feel free to experiment with other flavor combinations for your next batch!
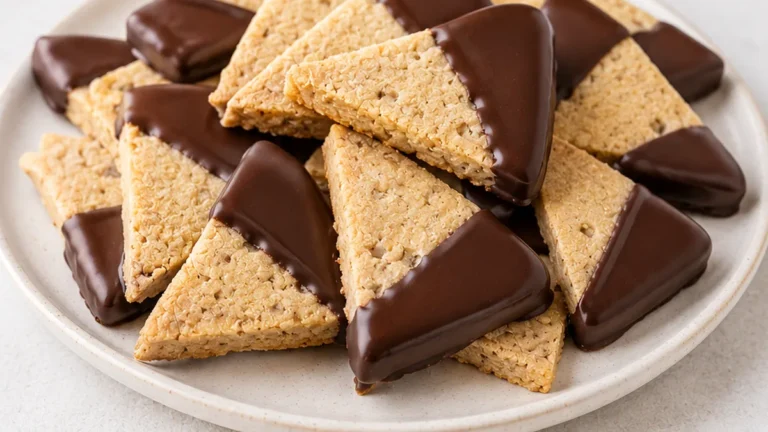
Try this next: Chocolate Dipped Shortbread Cookies
More from Sugar & Cut-Out Cookies →