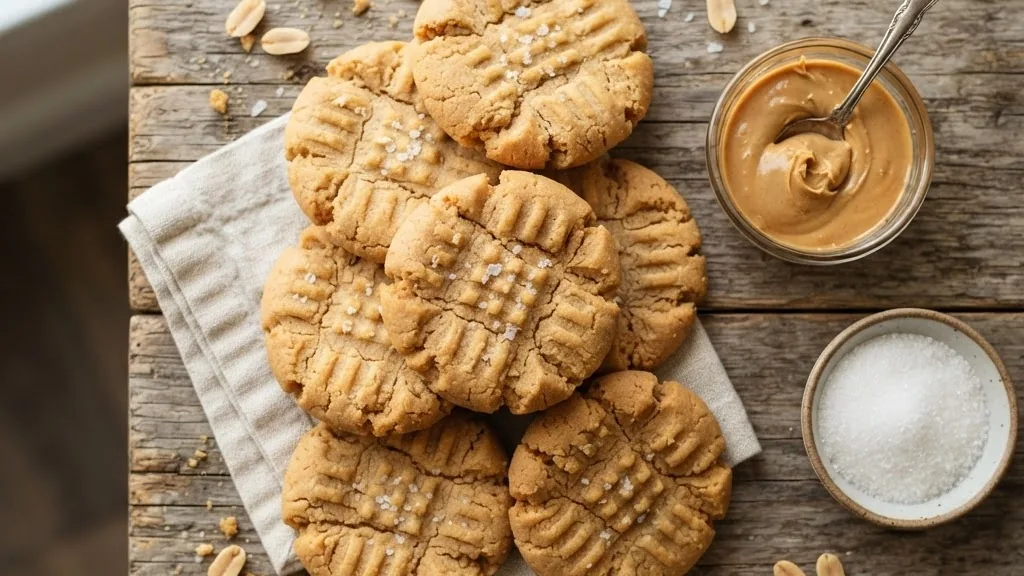
There is one cookie that works when the pantry is nearly empty and a craving hits anyway: 3 ingredient peanut butter cookies. No flour, no butter, no mixer, no chilling. You stir peanut butter, sugar, and an egg in a single bowl, press the tops with a fork, and pull warm cookies out of the oven about fifteen minutes later. The catch is that the simplest recipes are also the easiest to get slightly wrong, which is why so many batches come out greasy, sandy, or so fragile they fall apart on the spatula.
This is a recipe-first, informational guide, and it fixes that. You will get the exact ratio that keeps these cookies tender instead of crumbly, a short explanation of why three ingredients can hold together with no flour at all, and a troubleshooting table for the four problems people run into most. We will also cover the variations worth making, how to store and freeze the dough, and what the cookies actually look like nutritionally. If you have ever wondered whether to use Jif or natural peanut butter, that question gets a clear answer too.
Why Three Ingredients Are Enough (The Quick Answer)
3 ingredient peanut butter cookies work because each ingredient does a structural job that flour normally splits up. The peanut butter supplies fat for tenderness plus protein and ground-peanut solids that behave like a soft flour. The sugar dissolves, builds structure, and controls how far the dough spreads. The egg is the binder: as it bakes, its proteins set and lock everything into a sliceable, liftable cookie. Get the balance right and you do not miss the flour at all. Use the classic one-cup-each ratio and you often will, because too much sugar dries the dough out.
The Food Science, in Plain Terms
It helps to know what is happening inside the dough, because every fix later comes back to it. An egg is roughly 50 grams of mostly water and protein. That set protein is the entire skeleton of a flourless cookie.
Sugar plays a second quiet role. It is hygroscopic, meaning it grabs and holds moisture. The right amount keeps a cookie soft; too much pulls water out of the crumb and leaves it sandy. That balance is exactly why the ratio below trims the sugar slightly.
Peanut butter is the workhorse. According to USDA FoodData Central, commercial peanut butter runs around 50% fat and roughly 25% protein by weight, with the rest mostly carbohydrate and a little fiber. The fat coats proteins and shortens any structure that tries to form, which is what makes the crumb tender. The solids give body. Because there is no wheat and therefore no gluten, the dough cannot build the stretchy network that holds a normal cookie together while hot, and that single fact explains both the texture and the one cooling rule you should never skip.
Ingredients You Need
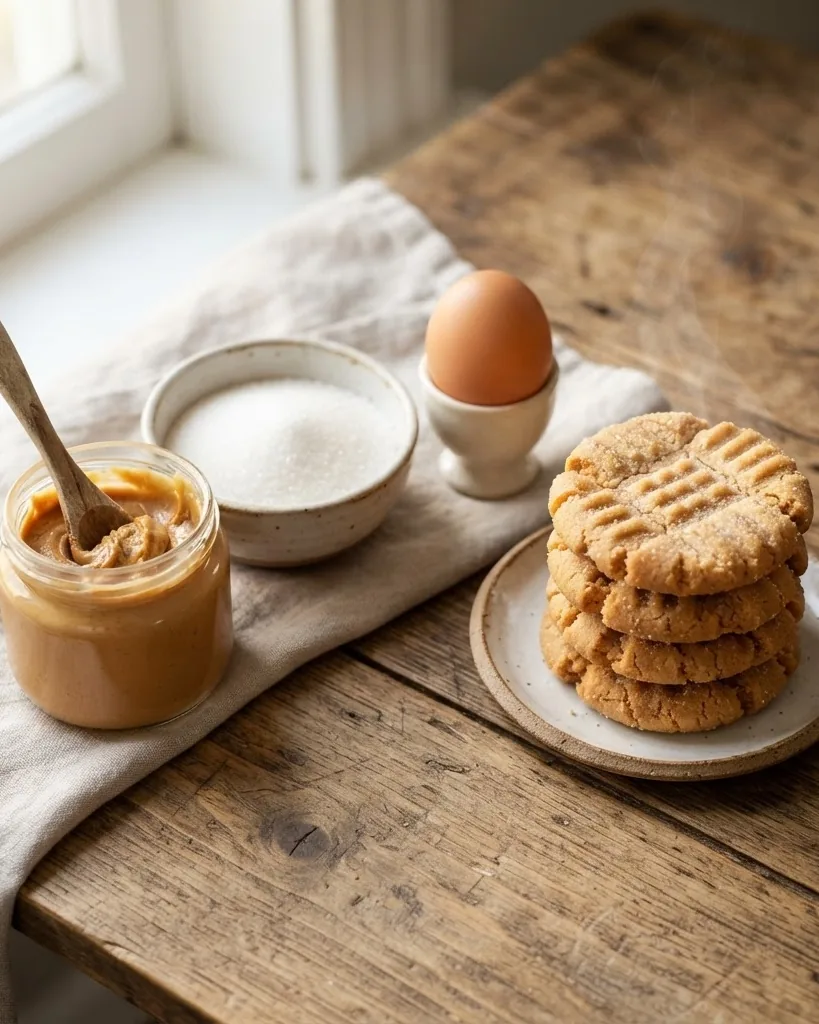
The shopping list is short, but two choices change the result more than people expect. The ratio below is the balanced version, with slightly less sugar than the famous one-to-one-to-one formula, and it bakes up noticeably less crumbly. Measure the peanut butter by spooning it into a dry cup and leveling the top rather than scooping, since packing it adds too much. Use a large egg, not medium or extra-large, and let it warm on the counter for a few minutes so it blends evenly into the dense dough instead of seizing the fat into clumps.
- 1 cup (256 g) no-stir creamy peanut butter – the shelf-stable kind such as Jif or Skippy.
- 3/4 cup (150 g) granulated sugar – or packed light brown sugar for a chewier, deeper cookie.
- 1 large egg (about 50 g), at room temperature.
- Optional: 1/2 teaspoon vanilla, a pinch of salt, or flaky salt for the tops.
About the peanut butter: reach for a conventional no-stir jar, not the natural kind with a pool of oil on top. Natural peanut butter separates, so the fat and solids go into the dough in unpredictable amounts, and the cookies tend to spread, grease, or fall apart. Brands like Jif and Skippy include a small amount of stabilizer that keeps the oil bound in, which gives you a consistent dough every time. If natural is all you have, stir it completely smooth first and expect to babysit the bake.
Warning: Do not swap in low-fat or reduced-sugar “spread” products. They change the fat and water balance enough to wreck the dough, leaving cookies that either refuse to set or bake into a greasy puddle.
How to Make 3 Ingredient Peanut Butter Cookies, Step by Step
Start by heating the oven to 350°F (175°C) and lining two sheet pans with parchment. The whole method is a single bowl and a fork, so there is no creaming and no waiting on softened butter. The most common mistake here is rushing the mixing: you want the sugar evenly distributed and the egg fully worked in, or you will get streaks that bake unevenly. Scoop level tablespoons so every cookie sets in the same amount of time, and leave two inches between them even though these barely spread, because the fork press flattens them outward.
- Heat the oven to 350°F (175°C) and line two baking sheets with parchment paper.
- In one bowl, stir the peanut butter and sugar together until the mixture looks uniform and slightly grainy.
- Add the room-temperature egg (and vanilla, if using) and stir hard until a thick, cohesive dough forms with no dry pockets.
- Scoop level tablespoons and roll each into a ball; space them about two inches apart.
- Press each ball flat with a fork, then turn the fork 90 degrees and press again for the classic crosshatch.
- Bake 10 to 12 minutes, until the edges look set and the centers are puffed but still soft.
The Fork Crosshatch Is Not Just for Looks
That criss-cross pattern is a century-old habit with a practical reason behind it. Peanut butter dough is dense and low in moisture, so it barely spreads on its own. Left as round balls, the cookies would bake into thick domes with raw centers by the time the edges finished. Pressing them with a fork flattens each ball into a disc that heats through evenly, and the grooves add a little surface area that helps the tops set. Dip the fork in sugar or water between presses if it sticks. Aim for a thickness of about a third of an inch, which gives you a soft middle and a lightly crisp rim.
How to Know They Are Done (and the Cooling Rule)
Underbaking leaves a doughy, eggy center; overbaking is the number one cause of dry, fragile cookies. The window is narrow, so judge by sight, not just the timer. Pull the pan when the edges are set and matte and the centers still look slightly soft and puffed, around the 10 to 12 minute mark for tablespoon cookies. They will not look fully firm, and that is correct. Carryover heat finishes them on the pan. This is also why the cooling step is non-negotiable: with no gluten holding things together, a hot peanut butter cookie has almost no structure and will tear if you lift it.
Let the cookies cool on the sheet itself, and give them real time: the reference versions of this recipe call for about 30 minutes on the pan, because these cookies firm up as they cool. During that rest the egg-protein net keeps setting and the sugar re-solidifies, which is what turns a delicate, bendy disc into a cookie you can pick up cleanly. If you are stacking or storing, wait until they reach room temperature, because trapped steam softens the surface and can make them stick together.
Tip: Set a timer for the cooling, not just the baking. The rest on the pan is the single most skipped step, and it is the one that prevents most “my cookies fell apart” complaints entirely.
Two more oven habits from the test-kitchen versions of this recipe are worth copying. If you bake two sheets at once, rotate them between racks partway through; the published two-sheet method runs about 5 minutes, then another 5 to 7 after the swap, which evens out hot spots. And if you prefer bakery-size cookies scooped at 2 to 3 tablespoons, stretch the bake to the published 16 to 18 minute range rather than crowding more dough into the standard window; the bigger ball needs the extra time for the center to set at the same 350 degrees Fahrenheit.
Why Your Cookies Fall Apart (Cause and Fix)
Almost every failed batch traces back to one of four issues, and each has a direct fix. Use this table the next time something goes sideways, then adjust a single variable rather than changing the whole recipe at once. The pattern to remember is simple: crumbly usually means too much sugar or too long in the oven, while greasy or spreading usually means the wrong peanut butter. Binding problems point to the egg. Because the recipe has so few moving parts, diagnosing it is faster than with a standard cookie.
| Problem | Most likely cause | Fix |
|---|---|---|
| Greasy or spreading | Natural peanut butter, or oil not stirred in | Switch to no-stir Jif/Skippy, or stir natural fully |
| Won’t hold together at all | Egg too small or under-mixed | Use a true large egg; stir until no dry pockets remain |
One more quiet culprit is measuring. Scooping peanut butter straight from the jar with a measuring cup packs in more than a leveled spoonful, which throws off the fat-to-sugar balance and dries the cookies.
Variations Worth Making
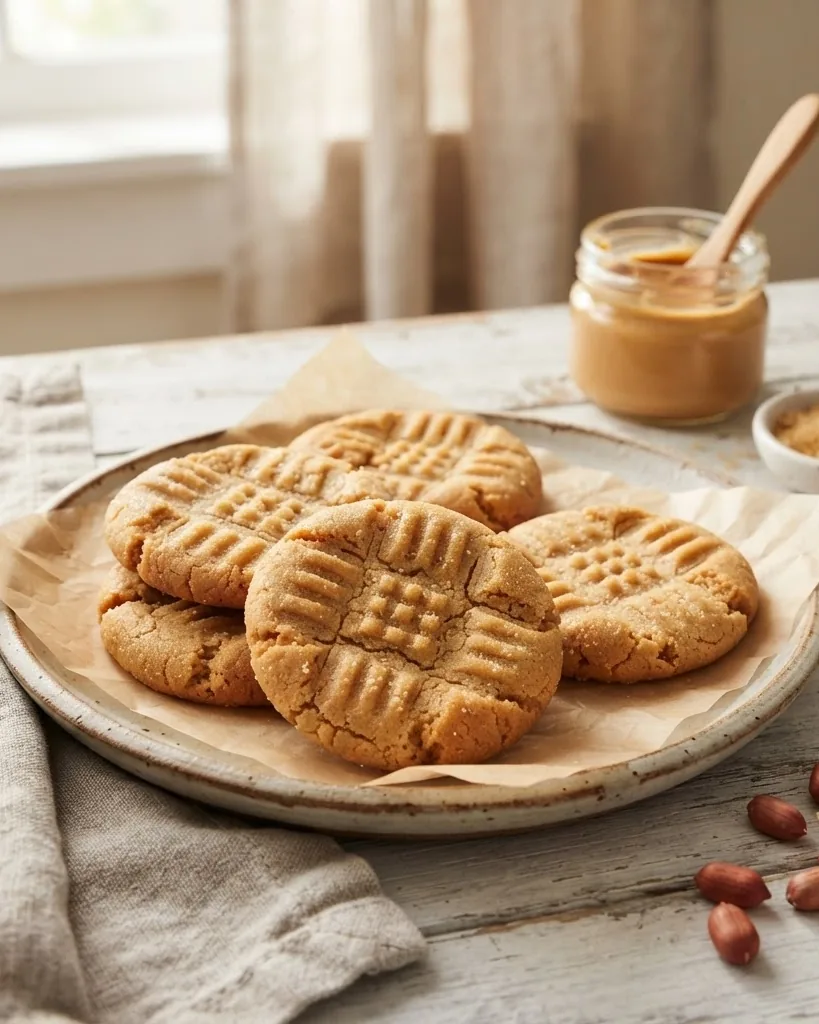
The base recipe is a launch pad, and small additions change the character without breaking the chemistry. The rule is to keep the core three ingredients in the same ratio and treat anything else as a topping or a swap, not an addition that throws off moisture. Brown sugar is the upgrade most people make first because it adds molasses depth and a chewier bite. Chocolate is the crowd-pleaser. Flaky salt is the cheapest way to make a plain cookie taste like it came from a bakery, since the salt sharpens the roasted-peanut flavor.
- Chewy brown sugar: swap the granulated sugar for an equal amount of packed brown sugar.
- Chocolate chip: fold in 1/2 cup mini chocolate chips after the dough comes together.
- Flaky-salt tops: press a few flakes of sea salt onto each cookie before baking.
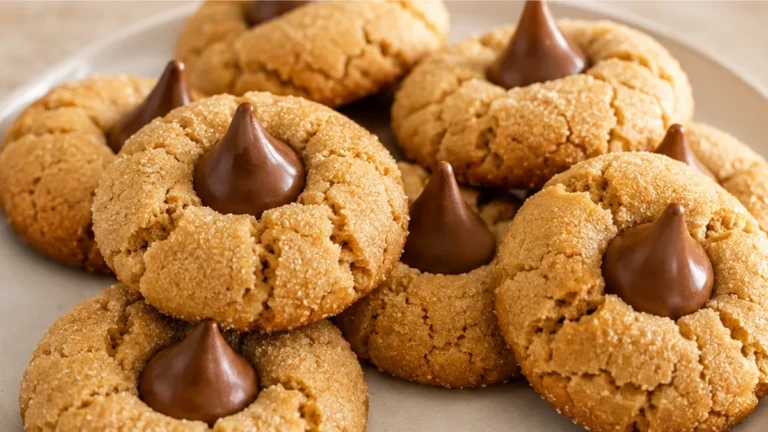
- Thumbprint: press a deeper well and add a chocolate kiss or jam after baking.
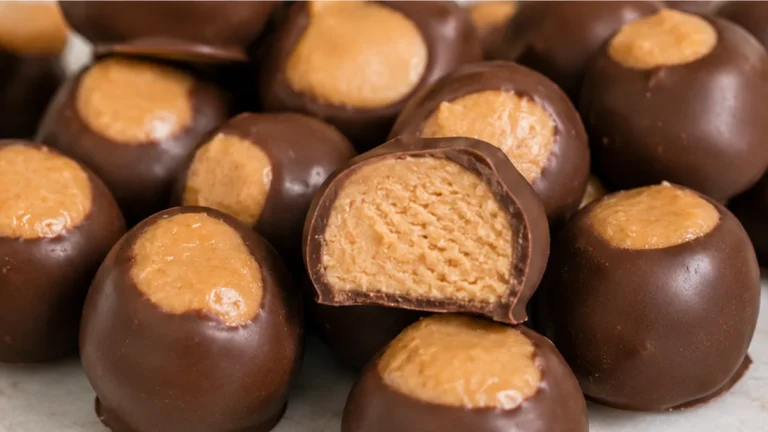
If you like simple, near-pantry recipes like this one, the same logic powers our 3-Ingredient Cool Whip Cookies, and peanut butter fans should not miss our melt-in-your-mouth peanut butter buckeyes. Both lean on the same idea of letting a few good ingredients do all the work.
How to Store and Freeze Them
These cookies keep well, which makes them a good make-ahead option. Once they are fully cool, store them in an airtight container at room temperature for up to five days; a slice of sandwich bread in the container helps keep them soft. They also freeze beautifully. Layer baked cookies between sheets of parchment in a freezer bag and they hold for up to three months, thawing at room temperature in about fifteen minutes. For fresh-baked cookies on demand, freeze the raw dough balls instead and bake them straight from frozen, adding a minute or two to the time.
The make-ahead trick is worth setting up once. Scoop the entire batch into balls, freeze them solid on a tray, then tip the frozen balls into a labeled bag. Because the dough has no butter to go rancid quickly, it holds its quality for the full three months, and you can bake one cookie or a dozen whenever the mood strikes. Press the crosshatch right before baking rather than at the freezing stage, since cold dough cracks under the fork. This is also the easiest way to portion cookies for a lunchbox or a last-minute dessert without committing to a whole tray at once.
Nutrition: What You Are Actually Eating
Peanut butter cookies are a treat, but they carry more protein than most sweets thanks to the peanuts. The egg adds a little extra protein and the structure that lets you skip flour entirely. There is no butter and no added oil, so the fat here comes almost entirely from the peanuts themselves.
One allergy note is worth stating plainly. Peanuts are one of the nine major food allergens the FDA requires to be labeled, and a peanut butter cookie is obviously off-limits for anyone with a peanut allergy. On the flip side, research like the NIH-funded LEAP study found that introducing peanut foods early to high-risk infants, under a pediatrician’s guidance, sharply reduced the chance of developing a peanut allergy. That is a medical decision for parents and doctors, not a baking one, but it is why peanut foods are discussed so differently now than a decade ago.
Frequently Asked Questions
Are 3 ingredient peanut butter cookies gluten-free?
Yes, by default. There is no wheat flour in the recipe, so the cookies are naturally gluten-free. If you are baking for someone with celiac disease, check the peanut butter label for a gluten-free certification or shared-equipment warning, since cross-contamination happens at the factory, not in your bowl.
Can I make them without sugar or with a substitute?
You can reduce the sugar slightly, but it is doing structural work, not just adding sweetness, so cutting it too far gives you a soft, spread-prone cookie. Granulated sugar substitutes that measure cup-for-cup can work, though many bake up drier, so watch the oven closely and pull them a minute early.
Why did my dough turn out oily?
That is almost always natural peanut butter whose oil was not fully stirred back in. The extra free oil has nowhere to go and weeps out as the cookies bake. Stir natural peanut butter until completely smooth before measuring, or switch to a no-stir brand for a reliable dough.
Can I double the recipe?
Easily. Keep the same ratio of 1 cup peanut butter to 3/4 cup sugar to 1 egg for each batch, and simply multiply. Mixing is the only thing that gets harder, so use a large bowl and a sturdy spoon, and bake in batches so no pan sits waiting.
Do I have to use a fork for the pattern?
The crosshatch is traditional, but its real job is flattening the dough so it bakes evenly. You can press the balls with the bottom of a glass instead; just get them to about a third of an inch thick so the centers cook through in the same time as the edges.
The Takeaway
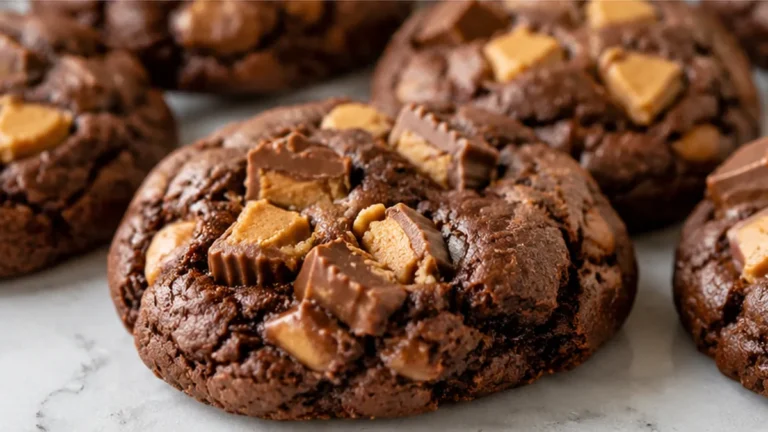
Three ingredients, one bowl, and about fifteen minutes is all it takes, as long as you respect the two rules that actually matter: use a no-stir peanut butter, and let the cookies cool on the sheet before you move them. Keep the sugar at three-quarters of a cup, judge doneness by the soft, puffed center rather than the clock, and you will get a tender, chewy cookie every single time. Once the base recipe is second nature, branch out to brown sugar, chocolate chips, or a thumbprint, or try the same few-ingredient approach in our double chunk chocolate cookie. Simple does not have to mean plain.